Bounce Light with Reflectors & Diffusers: Top Tips
Understanding the Fundamentals of Using Reflectors and Diffusers in Low-Light Shooting Situations
As photographers, we’ve all faced the challenge of shooting in low-light conditions. It’s a scenario that can be daunting, but with the right techniques and equipment, you can create stunning images even in the most inhospitable environments.
In this article, we’ll delve into the world of reflectors and diffusers, exploring their role in bouncing light and how to effectively use them to achieve professional-grade results. By the end of this guide, you’ll be equipped with the knowledge to tackle even the toughest low-light shooting situations.
The Science Behind Light Bouncing
Before we dive into the practical aspects of using reflectors and diffusers, it’s essential to understand the science behind light bouncing.
When light hits a surface, some of it is absorbed, while the rest is reflected. Reflectors and diffusers work by manipulating this reflection process, allowing us to control the direction and quality of the light.
Reflectors can be used to bounce light onto a subject from an alternate angle, creating depth and interest in an image. Diffusers, on the other hand, scatter light, reducing harsh shadows and creating a more even illumination.
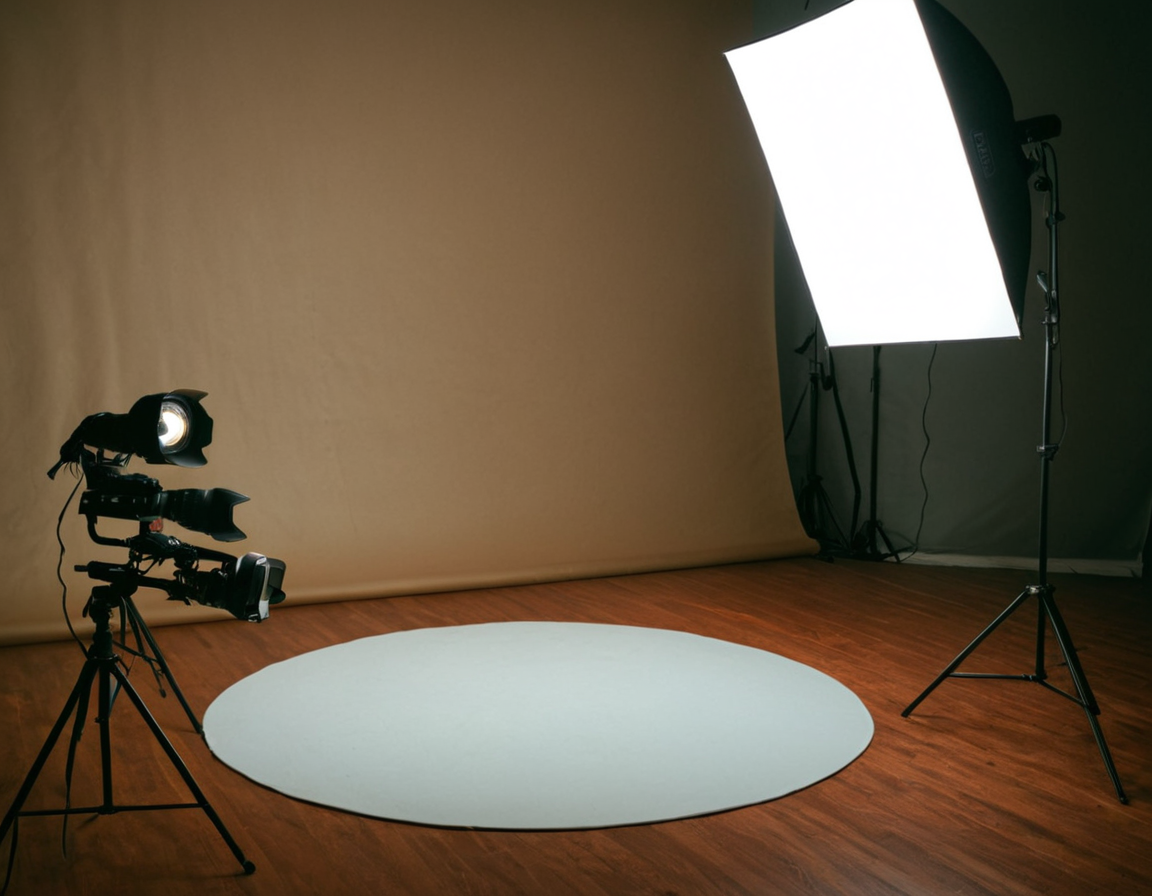
Types of Reflectors and Diffusers
When it comes to choosing reflectors and diffusers, there are several options available. Here are some common types:
- Bounce cards: These are thin, flexible sheets of white paper or plastic that can be used to bounce light onto a subject.
- Fiber optics: These are thin, flexible fibers made from materials like plastic or glass that can be used to create a diffused effect.
- Softboxes: These are soft, collapsible lights that can be used to create a soft, diffused effect.
Setting Up Your Reflectors and Diffusers
Setting up your reflectors and diffusers requires some experimentation. Here’s a general outline of how you might set them up:
Using a Bounce Card
- Position the card: Place the bounce card at an angle to the light source, using it to bounce the light onto the subject.
- Adjust the angle: Experiment with different angles and positions until you achieve the desired effect.
Using Fiber Optics
- Connect the fiber optic: Connect the fiber optic to a light source or a camera adapter.
- Position the fiber optic: Place the fiber optic at an angle to the light source, using it to create a diffused effect.
Tips and Tricks for Effective Use
Here are some additional tips and tricks to keep in mind when using reflectors and diffusers:
- Experiment with different materials: Different materials will produce different effects. Experimenting with different types of paper, fabric, or other materials can help you achieve the desired look.
- Pay attention to lighting conditions: Lighting conditions can greatly affect the outcome of your shot. Be mindful of any changes in the light and adjust accordingly.
Conclusion
Using reflectors and diffusers is a powerful technique for creating professional-grade images even in low-light shooting situations. By understanding how these tools work and experimenting with different techniques, you’ll be able to achieve stunning results that will take your photography to the next level.
The final word of caution is to always prioritize proper lighting conditions and safety when working with light sources.
Tags
low-light-photography reflectors-in-photography diffusers-for-shooting bouncing-light-tips professional-photo-techniques
About Isabella Anderson
As a seasoned photographer and educator, I help creatives unlock their full potential on lentecreativa.com. With 3+ yrs of experience teaching photography techniques & tips, I've worked with top brands to develop innovative tools for photographers. Let's chase those shots!