Camera Shake Fixes

Understanding the Science Behind Camera Shake in Low Light: How to Mitigate It
Introduction
Camera shake, also known as camera roll or camera movement, is a significant issue in low-light photography. It can lead to blurry images, loss of detail, and even render entire scenes unuseable. However, understanding the science behind this phenomenon and implementing the right techniques can help you capture stunning images even in challenging lighting conditions.
What Causes Camera Shake in Low Light?
Camera shake is primarily caused by three factors: camera movement, lens flare, and image stabilization issues. In low-light conditions, the slightest movement of the camera or the subject can result in a blurred image due to the increased sensitivity of the sensor.
Let’s break down each factor:
- Camera Movement: Any slight movement of the camera, such as hand tremors, vibrations, or external factors like wind or temperature changes, can cause camera shake.
- Lens Flare: When light passes through the lens and hits the image sensor, it can create unwanted flares that can lead to a blurred or distorted image.
- Image Stabilization Issues: If your camera’s image stabilization system is not functioning correctly, it can exacerbate camera shake issues.
How Camera Shake Affects Low-Light Photography
Camera shake has a significant impact on low-light photography. In such conditions, even the slightest movement can result in a blurry image, making it challenging to capture the desired shot.
However, understanding and mitigating these issues can help you achieve better results:
- Reduced Blur: By minimizing camera movement and using techniques like tripod usage or image stabilization, you can significantly reduce blur.
- Improved Detail: Properly managed lens flare and focus can enhance your images by preserving detail and clarity.
- Better Control: Mastering the science behind camera shake allows for greater control over your photography, enabling you to capture stunning images even in challenging lighting conditions.
Mitigating Camera Shake in Low Light
There are several techniques you can use to mitigate camera shake in low-light photography:
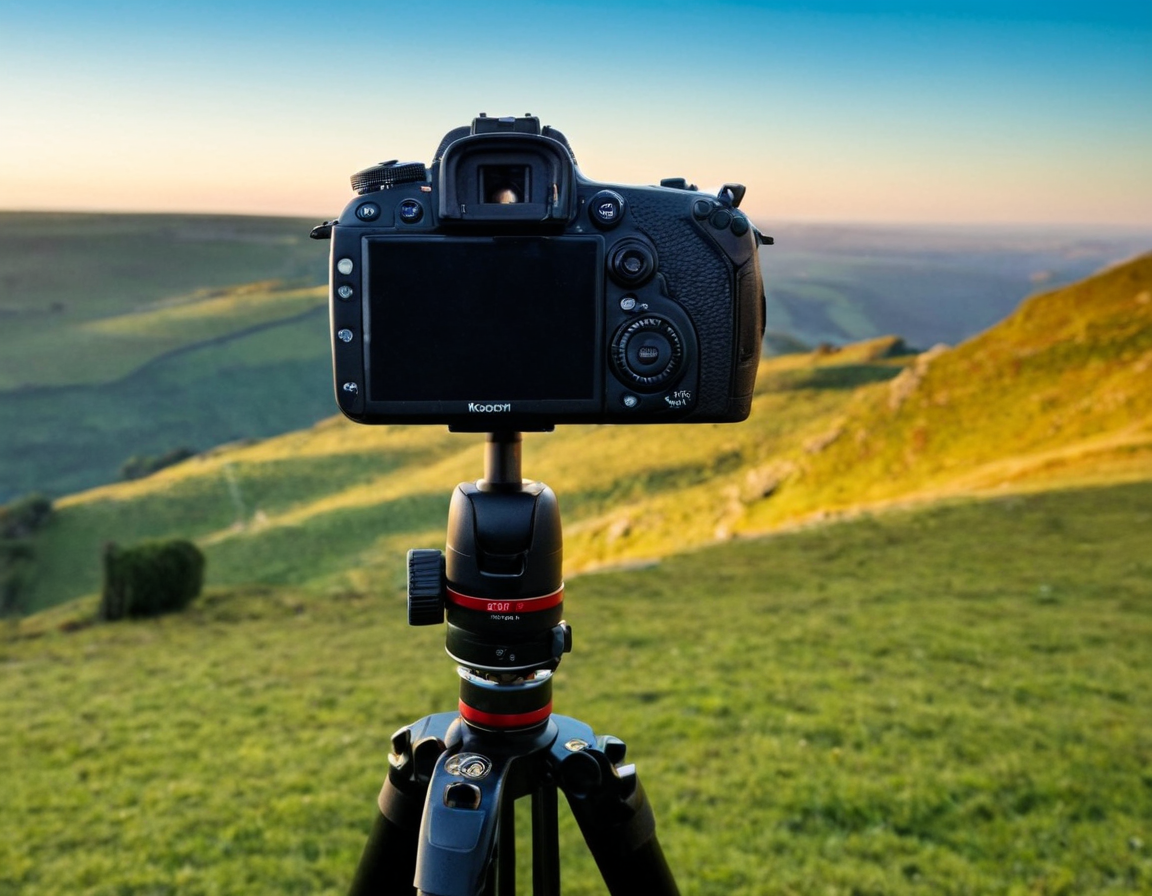
- Use a Tripod: A tripod provides stability and allows you to make adjustments without disturbing the camera.
- Image Stabilization: If your camera has an image stabilization feature, ensure it is enabled. This will help reduce blur caused by hand movement or external factors.
- Fast Shutter Speeds: Using fast shutter speeds can help freeze motion and minimize camera shake.
- Focus Peaking or Zones: Properly adjusting focus can ensure that the subject is sharp while reducing camera shake issues.
Practical Examples
Let’s put these techniques into practice:
- Shooting with a tripod in low-light conditions. This will allow you to make adjustments without disturbing the camera, ensuring a sharper image.
- Using image stabilization on your camera or lens to reduce blur caused by hand movement or external factors.
- Fast shutter speeds can help freeze motion and minimize camera shake. However, be cautious not to overdo it as this may introduce rolling shutter effects.
Conclusion
Camera shake is an issue that can significantly impact low-light photography. Understanding the science behind this phenomenon and implementing the right techniques can help you capture stunning images even in challenging lighting conditions.
By following the techniques outlined in this article, such as using a tripod, image stabilization, fast shutter speeds, and focus peaking or zones, you can minimize camera shake issues and achieve better results in low-light photography.
The next time you find yourself in a low-light situation, remember that knowledge is power. Take control of your camera and the environment around you to capture images that you’ll be proud of.
Will you take the challenge to master low-light photography?
Tags
camera-shake low-light-photography image-stabilization lens-flare handheld-photo
About Luis Torres
Hi, I'm Luis Torres, a photographer and blogger passionate about helping creatives grow. With a background in photography and a knack for teaching, I share actionable tips & techniques on lentecreativa.com to inspire and educate photographers of all levels.
