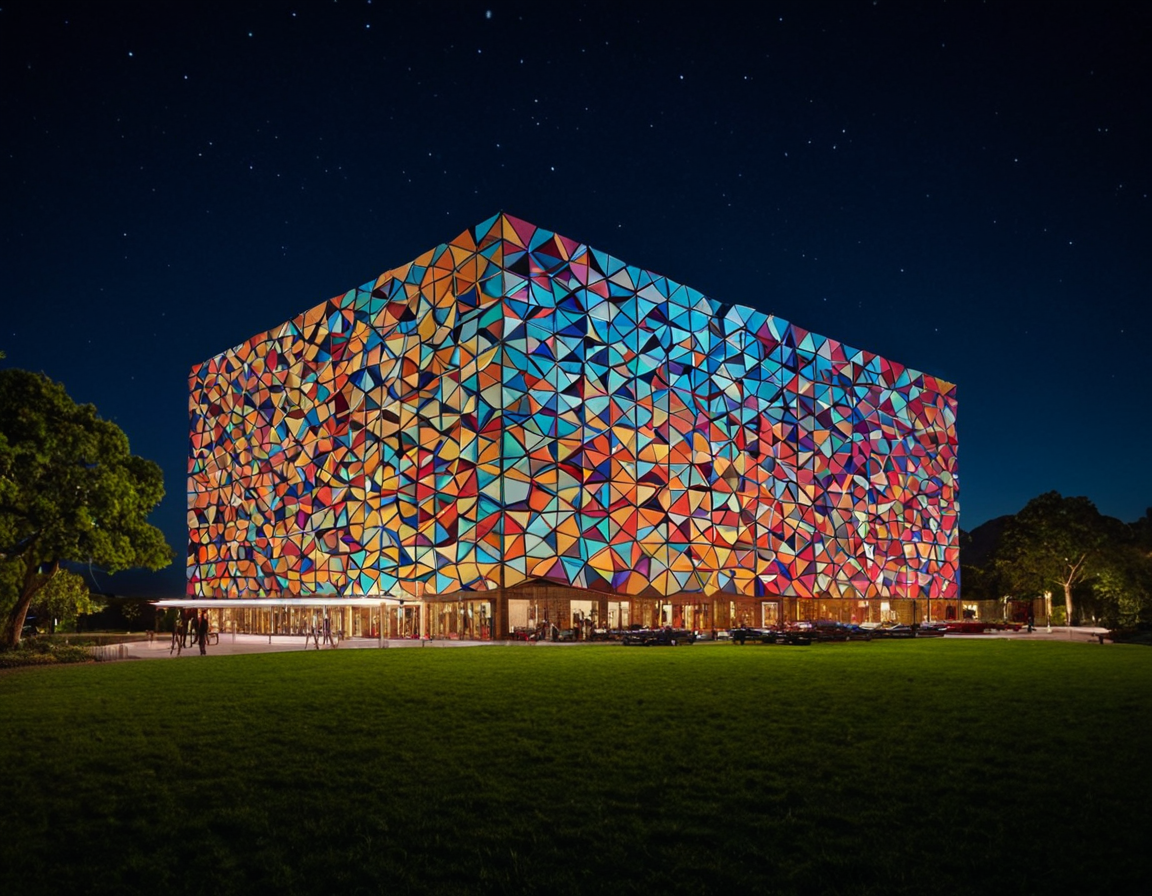
Capture Immersive Scenes with 3D Mapping

The Rise of 3D Mapping Photography: How to Capture and Edit Immersive Scenes
In the realm of photography, there has been a significant shift towards capturing and presenting images in a more immersive and engaging way. One technique that has gained popularity in recent years is 3D mapping photography, which involves creating three-dimensional scenes from two-dimensional photographs. In this article, we will delve into the world of 3D mapping photography, exploring its history, principles, and practical applications.
History of 3D Mapping Photography
The concept of 3D mapping photography has been around for several decades, but it wasn’t until recent years that it gained mainstream attention. The first 3D mapping cameras were developed in the 1990s, primarily used in film and video production. However, with the advent of digital technology and advancements in computer vision, the field has evolved significantly.
Today, 3D mapping photography is being used in various industries such as architecture, product design, and art. It allows photographers to create detailed, interactive, and immersive scenes that can be used for a wide range of applications.
Principles of 3D Mapping Photography
Before we dive into the practical aspects of 3D mapping photography, it’s essential to understand the underlying principles. The process involves capturing multiple photographs from different angles, which are then stitched together to create a three-dimensional model.
There are several key considerations when it comes to capturing 3D maps:
- Lighting: Proper lighting is crucial in 3D mapping photography. Harsh or unflattering light can distort the images and make it difficult to achieve a realistic result.
- Camera settings: The camera settings play a significant role in achieving high-quality 3D maps. This includes factors such as resolution, focus, and exposure.
Capturing 3D Maps
Capturing 3D maps involves several steps:
Step 1: Pre-production
Before capturing the images, it’s essential to plan and prepare the shoot. This includes scouting locations, selecting models or props, and setting up lighting and camera equipment.
- Location scouting: Find a location that is suitable for the project. Consider factors such as lighting, accessibility, and aesthetics.
- Model selection: Choose models or props that fit the theme and style of the project.
- Lighting setup: Set up lighting equipment to achieve the desired mood and atmosphere.
Step 2: Capturing Images
Once you have set up your equipment and prepared your subjects, it’s time to capture the images. Follow these guidelines:
- Use a tripod: A tripod will help you maintain consistency in camera settings and prevent camera shake.
- Shoot from multiple angles: Capture images from different angles to create a more realistic 3D map.
Step 3: Stitching Images
After capturing the images, it’s time to stitch them together to create a 3D model. This process typically involves using specialized software or hardware.
- Software usage: Use software such as Adobe Photoshop or Autodesk ReCap to stitch the images together.
- Hardware usage: Consider using specialized hardware such as Structure Global or Microsoft Azure Kinect DK to capture and stitch images.
Editing 3D Maps
Editing 3D maps involves several steps:
Step 1: Importing Images
Import the captured images into your chosen software or hardware.
- Software import: Use software such as Adobe Photoshop or Autodesk ReCap to import the images.
- Hardware import: Follow the manufacturer’s instructions to import the images onto the device.
Step 2: Adjusting Settings
Adjust settings such as resolution, focus, and exposure to achieve a realistic result.
- Resolution adjustment: Adjust the resolution of the images to achieve a high-quality 3D map.
- Focus adjustment: Ensure that the focus is accurate and consistent across all images.
Step 3: Rendering
Render the 3D model using specialized software or hardware.
- Software rendering: Use software such as Blender or Autodesk Maya to render the 3D model.
- Hardware rendering: Consider using specialized hardware such as NVIDIA Quadro or AMD Radeon Pro to accelerate rendering.
Conclusion
In conclusion, 3D mapping photography is a complex and challenging field that requires significant expertise and resources. However, with the right knowledge and equipment, it’s possible to create stunning and immersive images that can be used for a wide range of applications.
As we continue to push the boundaries of what’s possible in photography, it’s essential to consider the ethical implications of our work. With great power comes great responsibility, and it’s crucial that we use our skills for the greater good.
We hope this article has provided you with a comprehensive guide to 3D mapping photography. If you have any questions or comments, please don’t hesitate to reach out.
Is there anything else you’d like to know about 3D mapping photography?
Tags
d-mapping-photography immersive-scenes computer-vision digital-cameras photo-editing
About Teresa Gomez
Photography enthusiast & blogger Teresa Gomez shares her expertise on inspiring photography techniques, tutorials, and tools to help creatives elevate their craft at lentecreativa.com.
