ISO, Shutter Speed & Aperture Explained
Understanding ISO, Shutter Speed and Aperture: A Comprehensive Guide
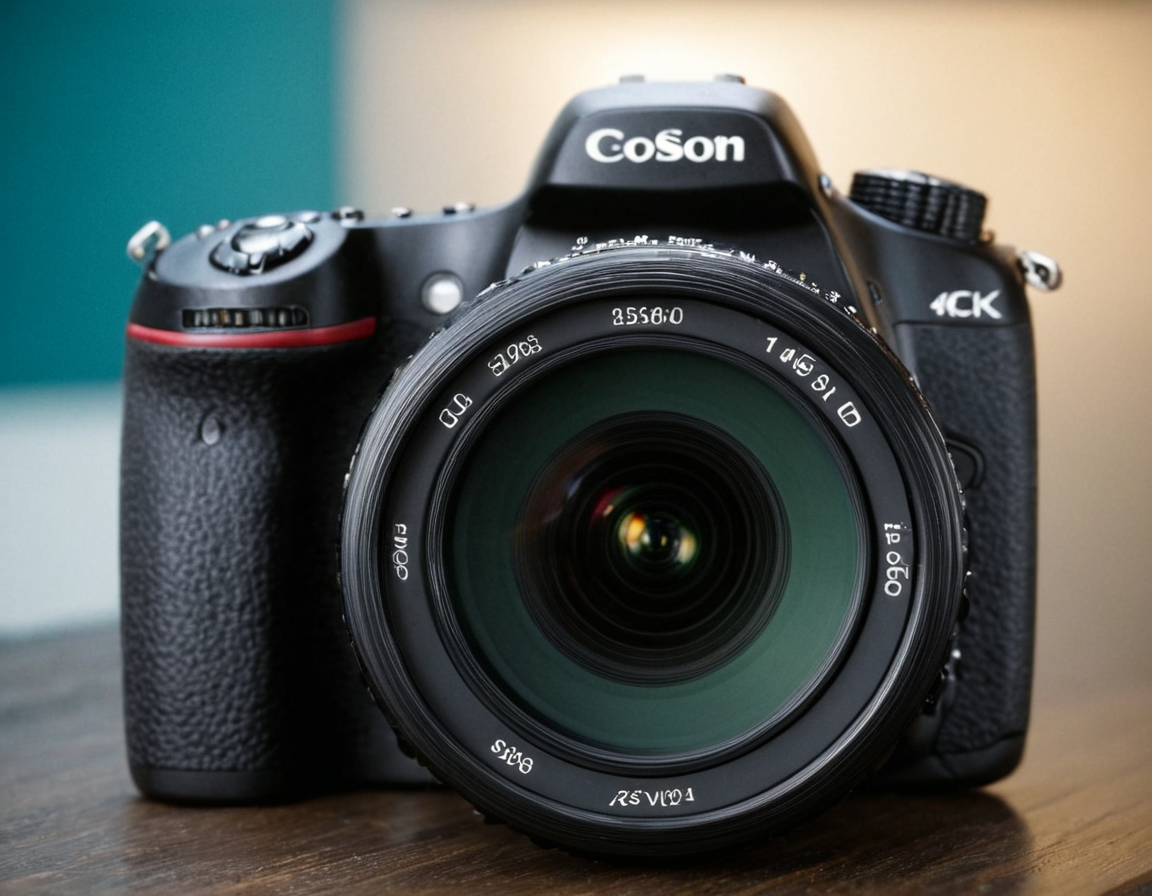
In the realm of photography, understanding the fundamental concepts of ISO, shutter speed, and aperture is crucial for capturing stunning images. These three components form the foundation of exposure, allowing photographers to control the look and feel of their photographs. In this article, we will delve into each of these concepts, exploring their functions, effects, and practical applications.
Introduction
The world of photography can be overwhelming, especially for those new to the craft. One of the biggest hurdles is understanding the technical aspects of exposure. ISO, shutter speed, and aperture are often misunderstood or misused, leading to subpar results. However, with a solid grasp of these concepts, photographers can take control of their creative vision. In this article, we will explore each component in-depth, providing practical examples and real-world applications.
Understanding ISO
ISO (International Organization for Standardization) refers to the sensitivity of a camera’s image sensor. It essentially determines how much light reaches the sensor. A lower ISO setting reduces the amount of light, while a higher setting increases it.
- Low ISO (100-400): Ideal for bright lighting conditions, such as outdoor portraits or landscapes.
- Medium ISO (800-1600): Suitable for everyday shooting, such as street photography or documentary work.
- High ISO (3200-6400): Recommended for low-light situations, but be aware of noise and image degradation.
ISO is not just about the camera’s sensor; it also affects the overall look and feel of an image. Higher ISO settings can introduce noise and grain, which can be detrimental to the final product.
Practical Example
A photographer is shooting a wedding in a bright outdoor setting. To achieve the desired exposure, they set their camera to a low ISO (100) and use a wide aperture (f/2.8). This combination results in a sharp image with minimal noise.
Shutter Speed
Shutter speed refers to the length of time the camera’s shutter is open, determining how much light reaches the sensor. Faster shutter speeds are ideal for freezing motion, while slower speeds are better suited for creating motion blur or artistic effects.
- Fast Shutter Speed (1/1000th of a second): Used for sports, wildlife, or high-speed photography.
- Medium Shutter Speed (1/60th of a second): Suitable for everyday shooting, such as street photography or documentary work.
- Slow Shutter Speed (1 second or longer): Recommended for creating motion blur or artistic effects.
Shutter speed is not just about freezing or slowing down motion; it also affects the overall look and feel of an image. Faster shutter speeds can result in a sharper image, while slower speeds can create a sense of movement or blur.
Practical Example
A photographer is capturing a waterfall in slow motion. To achieve the desired effect, they set their camera to a slow shutter speed (1 second) and use a wide aperture (f/2.8). This combination results in a moody, artistic image with blurred water.
Aperture
Aperture refers to the size of the camera’s aperture, which controls the amount of light entering the lens. A larger aperture (smaller f-stop number) allows more light in, while a smaller aperture (larger f-stop number) restricts it.
- Wide Aperture (f/1.4-2.8): Ideal for portraits, close-up shots, or low-light situations.
- Medium Aperture (f/5.6-8): Suitable for everyday shooting, such as street photography or documentary work.
- Narrow Aperture (f/11-16): Recommended for landscape, architecture, or product photography.
Aperture is not just about controlling the amount of light; it also affects the overall look and feel of an image. A larger aperture can create a shallow depth of field, separating the subject from the background, while a smaller aperture restricts the depth of field.
Practical Example
A photographer is shooting a portrait in a studio setting. To achieve the desired effect, they set their camera to a wide aperture (f/2.8) and use a flash. This combination results in a shallow depth of field, separating the subject from the background.
Conclusion
Understanding ISO, shutter speed, and aperture is crucial for photographers who want to take control of their creative vision. These three components form the foundation of exposure, allowing photographers to control the look and feel of their photographs. By understanding how to use each component effectively, photographers can create stunning images that tell a story or evoke an emotion.
What’s next?
In the world of photography, there is always room for improvement and exploration. Experiment with different ISO settings, shutter speeds, and apertures to find what works best for you and your creative vision. Remember, practice makes perfect, so keep shooting and learning!
About David Lopez
As a seasoned photographer and blogging expert, I help creatives refine their craft on lentecreativa.com. With a focus on practical tips & techniques, I inspire photographers to push boundaries and capture stunning images.