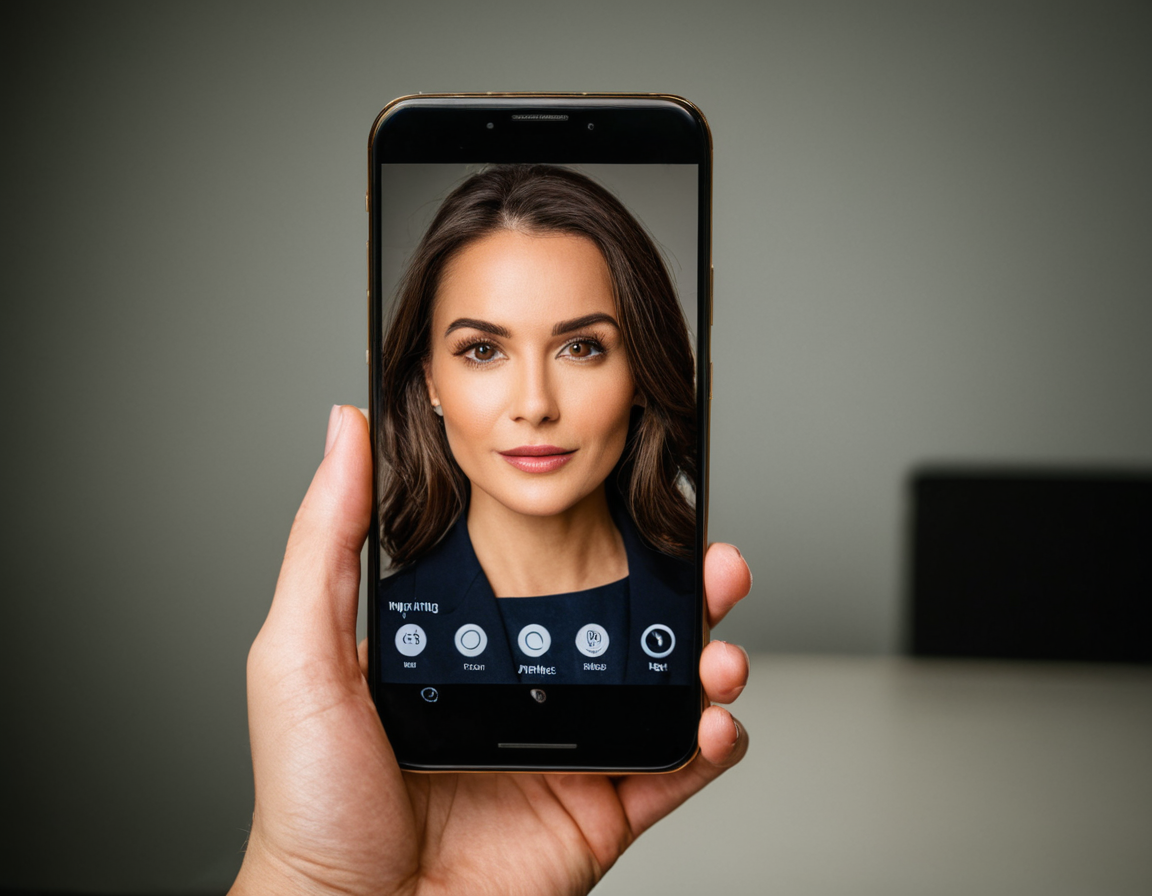
Lenses Guide: Pro Headshot Smartphones

The Ultimate Guide to Smartphone Lens Selection and Optimization for Professional-Grade Headshots
Introduction
In the world of professional photography, a well-crafted headshot can make or break a person’s image. With the rise of social media and online platforms, having a high-quality portrait is no longer just a nicety, but a necessity. One crucial aspect that often gets overlooked is the smartphone lens selection and optimization process. In this guide, we’ll delve into the world of smartphone lenses, exploring the key factors to consider, best practices for optimization, and providing actionable tips for achieving professional-grade headshots.
Understanding Smartphone Lenses
Smartphone cameras have become increasingly advanced, but their limitations are still evident. The standard kit lens that comes with most smartphones is often inadequate for capturing high-quality images. This is where third-party lenses come into play. However, not all lenses are created equal, and choosing the right one can make a significant difference in your photography.
Factors to Consider When Selecting a Lens
When searching for a smartphone lens, there are several factors to consider:
- Optical Quality: Look for lenses with high-quality glass elements and a wide aperture (e.g., f/1.4 or wider).
- Image Stabilization: Optical image stabilization (OIS) can help reduce camera shake and blur.
- Distortion Correction: Some lenses offer distortion correction, which can help minimize the “barrel” or “pincushion” effect.
- Compatibility: Ensure the lens is compatible with your smartphone model.
Optimizing Your Smartphone Lens
Even with a high-quality lens, there are several steps you can take to optimize your smartphone camera:
Camera Settings
- Mode: Use manual mode (if available) or switch to the “Pro” mode on newer devices.
- ISO: Keep the ISO as low as possible to minimize noise and digital artifacts.
- Exposure Compensation: Adjust the exposure compensation to balance the brights and darks in your scene.
Lighting
- Natural Light: Natural light is always the best option. Find a well-lit location or use a diffuser to soften harsh direct sunlight.
- Artificial Light: If you’re shooting indoors, consider using a lighting kit or investing in a portable LED light panel.
Best Practices for Headshot Photography
When it comes to headshots, there are several best practices to keep in mind:
Composition
- Rule of Thirds: Place your subject off-center to create a more dynamic composition.
- Simplification: Remove distracting elements from the background and simplify the composition.
Direction and Expression
- Direction: Guide your subject’s expression and direction to convey the desired emotion or message.
- Relaxation: Encourage your subject to relax and be themselves, as this will result in a more natural-looking image.
Conclusion
Capturing professional-grade headshots requires attention to detail, practice, and patience. By following these guidelines and experimenting with different lenses and camera settings, you’ll be well on your way to producing high-quality images that showcase your subject’s personality and character. Remember, the right equipment is only half the battle – it’s the skill and artistry that goes into capturing those moments that truly set great photographers apart.
**What’s the most critical aspect of smartphone lens selection for headshot photography? Share your thoughts in the comments below!
Tags
smartphone-lens-guide professional-headshots optimal-camera-settings best-third-party-lenses high-quality-portraits
About David Lopez
As a seasoned photographer and blogging expert, I help creatives refine their craft on lentecreativa.com. With a focus on practical tips & techniques, I inspire photographers to push boundaries and capture stunning images.
