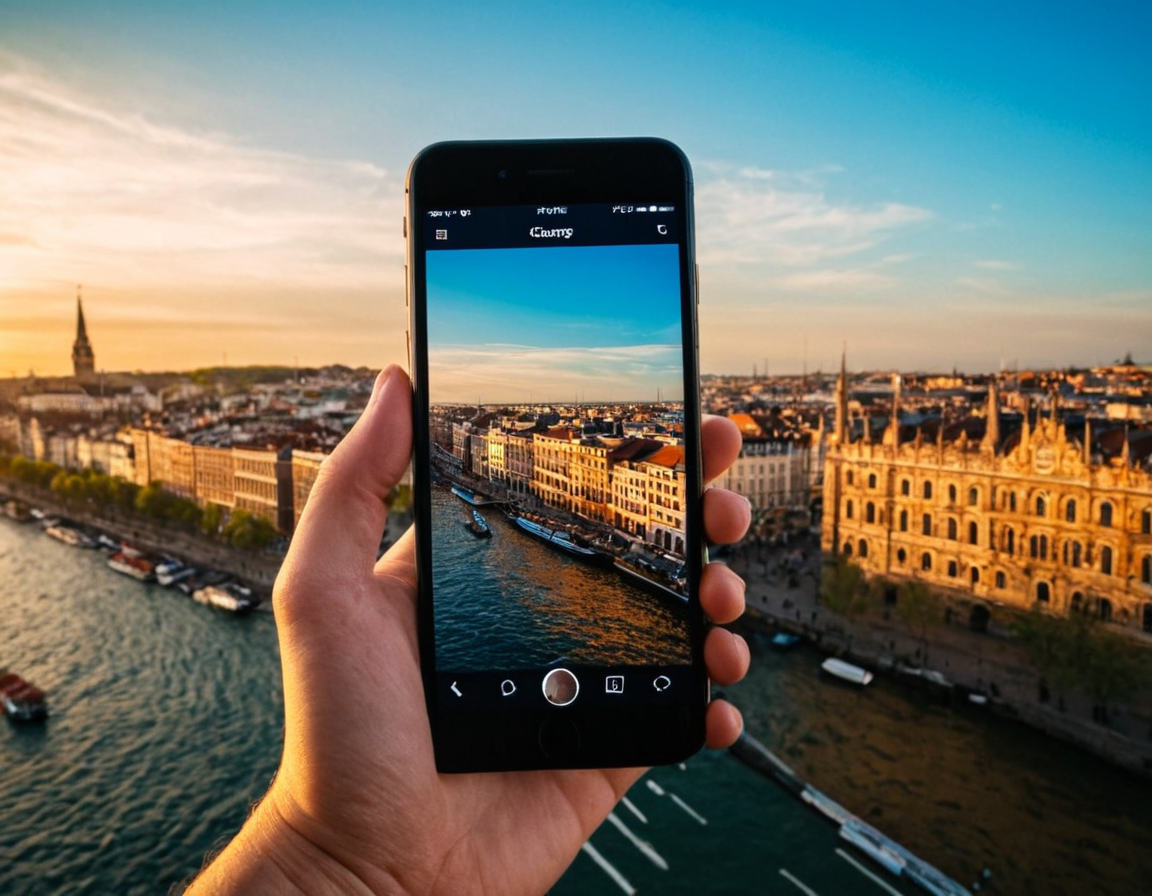
Phone Photography Tips: Capture Stunning Shots

Mastering Mobile Photography: 11 Killer Tips for Taking Stunning Photos with Your Phone
As smartphone cameras continue to improve, the line between a good camera and a great one becomes increasingly blurred. While some may say that the quality of a phone’s camera is not comparable to a DSLR or mirrorless camera, nothing could be further from the truth.
In this article, we will delve into 11 killer tips that will help you take your mobile photography skills to the next level. From understanding your device’s limitations to experimenting with creative techniques, we’ll cover it all.
Understanding Your Device’s Limitations
Before we dive into the nitty-gritty of mobile photography, it’s essential to acknowledge the limitations of your device. A phone’s camera is not designed for professional use, and there are several factors that can affect image quality.
- Lens Quality: Phone lenses are typically smaller and less complex than those found on DSLR or mirrorless cameras. This means they may not be able to capture the same level of detail or depth.
- Sensor Size: The sensor size in a phone’s camera is generally smaller, which can lead to reduced low-light performance and decreased dynamic range.
Despite these limitations, there are ways to work around them and produce high-quality images.
Tip 1: Master Your Device
Familiarize yourself with your device’s camera settings. Understand the different modes (e.g., photo, video, portrait), exposure compensation, and focus modes. This knowledge will help you make informed decisions when capturing images.
- Exposure Compensation: Learn how to adjust exposure compensation to balance bright and dark areas in an image.
- Focus Modes: Experiment with different focus modes, such as manual or AF-C, to achieve the desired effect.
Tip 2: Use Natural Light
Natural light is essential for creating well-balanced and visually appealing images. Avoid using artificial light sources whenever possible.
- Golden Hour: Take advantage of the golden hour (dawn or dusk) for warm and soft light.
- Avoid Harsh Midday Sun: Steer clear of midday sun, as it can create unflattering shadows and highlights.
Tip 3: Experiment with Angles
Don’t be afraid to experiment with unusual angles and perspectives. This will help add depth and interest to your images.
- Low Angle: Shoot from a low angle to make subjects appear more powerful or intimidating.
- High Angle: Capture images from a high angle to create a sense of unease or uncertainty.
Tip 4: Play with Depth of Field
Depth of field refers to the area in focus within an image. Experimenting with different aperture settings can help control this aspect.
- Large Aperture: Use a large aperture (high f-stop number) to create a shallow depth of field, separating your subject from the background.
- Small Aperture: Employ a small aperture (low f-stop number) to maintain a deep depth of field and keep more elements in focus.
Tip 5: Pay Attention to Composition
Composition is key to creating visually appealing images. Consider the rule of thirds, leading lines, and framing when building your shots.
- Rule of Thirds: Divide the frame into thirds both horizontally and vertically. Place interesting elements along these lines or at their intersections.
- Leading Lines: Use leading lines to guide the viewer’s eye through the image and create a sense of depth.
Tip 6: Focus on Your Subject
A sharp, well-focused subject is crucial for capturing high-quality images.
- Manual Focus: When possible, switch to manual focus mode to ensure precise control over your subject’s focus.
- AF-C: Use continuous autofocus (AF-C) when tracking moving subjects or capturing fast-paced action.
Tip 7: Learn About ISO and Shutter Speed
ISO and shutter speed are two fundamental components of exposure. Understanding how to adjust these settings can greatly impact image quality.
- ISO: Keep your ISO as low as possible (preferably 100 or 200) to minimize noise and digital artifacts.
- Shutter Speed: Experiment with different shutter speeds to create unique effects, such as motion blur or freeze action.
Tip 8: Shoot in RAW
If your device allows it, shoot in RAW format. This will give you more flexibility when editing your images.
- Benefits of RAW: Capture more detailed images with greater dynamic range and color accuracy.
Tip 9: Edit Your Images
Editing is an essential step in the mobile photography process. Use apps or software to enhance your images without over-processing them.
- Basic Adjustments: Make basic adjustments, such as exposure, contrast, and saturation, to balance the image.
- Preserve Details: Avoid over-editing, as this can lead to loss of details and a unnatural look.
Tip 10: Post-Processing Tips
Post-processing is where you can refine your images further. Experiment with different techniques to achieve unique effects.
- Local Adjustments: Use local adjustments (e.g., exposure, contrast) to make targeted changes to specific areas of the image.
- Creative Techniques: Explore creative techniques, such as HDR or multi-exposure, to add depth and interest to your images.
Tip 11: Keep Practicing
Lastly, remember that practice makes perfect. The more you shoot, the better you’ll become at understanding your device’s limitations and experimenting with new techniques.
- Experimentation: Regularly try out new techniques and see what works best for you.
- Feedback: Ask for feedback from others to identify areas for improvement.
Conclusion
Mobile photography has come a long way, and with the right knowledge and techniques, you can produce high-quality images that rival those taken with professional equipment. By following these 11 killer tips, you’ll be well on your way to mastering mobile photography.
Stay curious, keep practicing, and most importantly, have fun experimenting with new techniques and pushing the boundaries of what’s possible with your device.
About Jose Gimenez
Hi, I'm Jose Gimenez, a seasoned photographer and blogger passionate about helping creatives level up their craft. With years of experience shooting weddings, landscapes, and portraits, I share practical tips, tutorials, and tools on lentecreativa.com to inspire and educate photographers.
