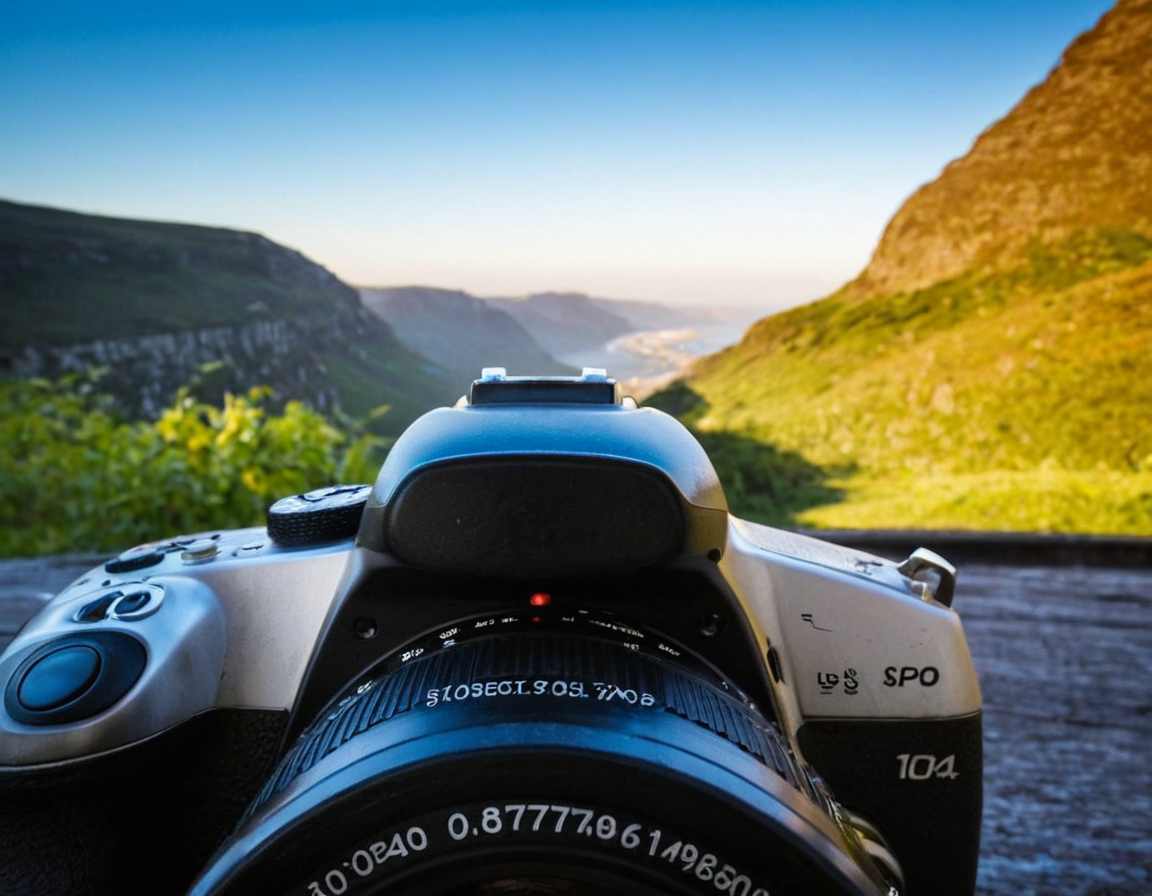
Photography Basics - ISO & Shutter Speed

Welcome to Photography 101: Understanding ISO, Shutter Speed, and Aperture
As a beginner in the world of photography, it’s easy to get overwhelmed by the numerous terms and concepts that seem to be thrown at you. However, understanding the fundamental principles of your camera is crucial to taking high-quality photographs. In this blog post, we’ll delve into the world of ISO, shutter speed, and aperture, providing you with a comprehensive guide to help you improve your photography skills.
What Are These Terms?
Before we dive into the details, let’s clarify what each term means:
- ISO: The sensitivity of your camera’s sensor. A lower ISO (e.g., 100) results in less grain and noise, while a higher ISO (e.g., 6400) increases the sensitivity but also introduces more noise.
- Shutter Speed: The length of time the camera’s shutter is open, measured in seconds or fractions of a second. Faster shutter speeds freeze motion, while slower ones create motion blur.
- Aperture: The size of the camera’s aperture, which controls the amount of light that enters the lens. A larger aperture (smaller f-stop number) lets more light in, while a smaller aperture (larger f-stop number) lets less light in.
Understanding ISO
Your camera’s ISO setting determines how sensitive it is to light. When you increase the ISO, you’re essentially amplifying the signal from the sensor. However, this comes with a trade-off: higher ISOs introduce more noise and grain into your images.
Here are some general guidelines for choosing an appropriate ISO:
- Low ISO (100-400): Best for bright lighting conditions, such as outdoor portraits or landscapes.
- Medium ISO (800-1600): Suitable for indoor photography, such as studio work or low-light situations.
- High ISO (3200-6400): Use with caution, as it can introduce significant noise and grain.
Understanding Shutter Speed
The shutter speed determines how long the camera’s shutter is open, which affects the motion in your image. Faster shutter speeds freeze motion, while slower ones create motion blur.
Here are some general guidelines for choosing an appropriate shutter speed:
- Fast shutter speed (1/1000th of a second): Freeze fast-moving subjects, such as sports or wildlife photography.
- Medium shutter speed (1/30th of a second): Capture everyday moments, such as street photography.
- Slow shutter speed (multiple seconds): Create artistic effects, such as motion blur or intentional camera movement.
Understanding Aperture
The aperture controls the amount of light that enters the lens. A larger aperture lets more light in, while a smaller one lets less light in.
Here are some general guidelines for choosing an appropriate aperture:
- Large aperture (small f-stop number): Use with caution, as it can create a shallow depth of field and may not be suitable for all subjects.
- Small aperture (large f-stop number): Use for portraits or still-life photography where a deep depth of field is desired.
Practical Example
Let’s say you’re taking a portrait of someone in a bright outdoor location. You want to freeze their motion and create a shallow depth of field to blur the background.
- Set your ISO to 100 (low sensitivity).
- Use a fast shutter speed (1/1000th of a second) to freeze the subject’s motion.
- Aperture: f/2.8 or larger to create a shallow depth of field.
Conclusion
Understanding ISO, shutter speed, and aperture is essential for taking high-quality photographs. By choosing the right settings for your scene, you can control the look and feel of your images. Remember, practice makes perfect, so keep experimenting and learning until you develop your own style.
What’s next? Experiment with different ISO, shutter speed, and aperture combinations to see how they affect your images. Share your experiences in the comments below!
About Amanda Lee
Hi, I'm Amanda Lee, a seasoned photographer and blogger passionate about helping creatives grow their skills. With a background in photo editing software like Lightroom & Photoshop, I share practical tips, tutorials, and inspiration on lentecreativa.com to help photographers elevate their craft.
