Top Light Techniques in Product Photo | Budget Tips

Essential Lighting Techniques for Authentic Product Photography on a Budget
As the world becomes increasingly digital, product photography has become an essential tool for businesses and individuals alike. With the rise of e-commerce and social media, high-quality product images are no longer a luxury but a necessity. However, creating authentic and visually appealing product images on a budget can be a daunting task.
In this article, we will explore five essential lighting techniques that can help you achieve professional-looking product images without breaking the bank.
Understanding the Basics of Lighting
Before we dive into the techniques, it’s essential to understand the basics of lighting. Lighting is not just about pointing a camera at an object and clicking the shutter button. It’s an art form that requires careful planning, execution, and attention to detail.
Lighting can be categorized into three main types: natural, artificial, and mixed lighting. Natural lighting refers to the use of natural light sources such as windows or skylights. Artificial lighting refers to the use of man-made light sources such as lamps or LED lights. Mixed lighting combines both natural and artificial light sources.
Technique 1: Using Available Light
One of the most effective ways to create authentic product images on a budget is by using available light. This means utilizing natural light from windows, skylights, or any other available source.
Benefits
- Free
- Environmentally friendly
- Can create a unique and authentic look
Challenges
- Difficult to control
- May not be suitable for all products
Using available light can be challenging, especially if you’re working with dark or poorly lit locations. However, it’s worth noting that some of the most iconic product images have been created using natural light.
For example, the famous “Product Photography” tutorial by Anzevoya uses this technique to great effect.
Technique 2: Investing in Basic Lighting Equipment
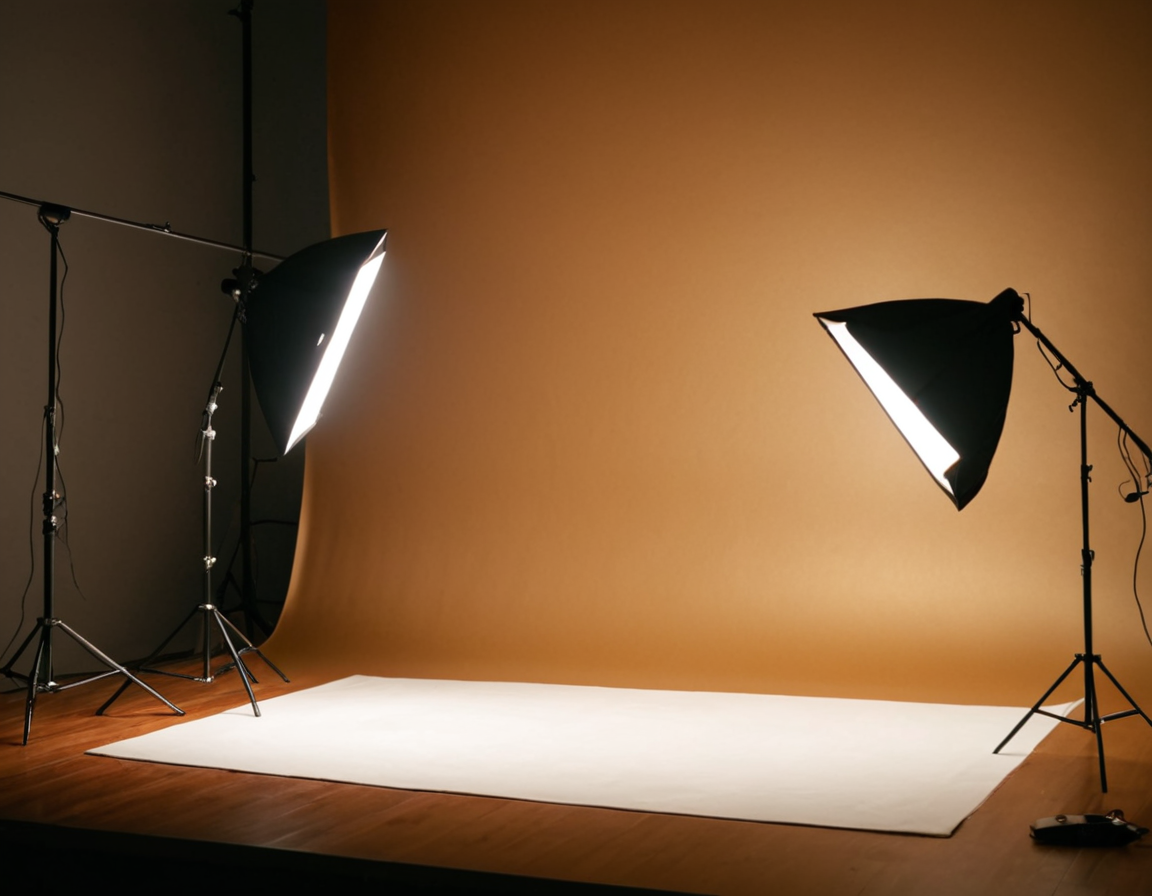
Investing in basic lighting equipment can help you achieve professional-looking results. This includes investing in a few key pieces of kit such as a softbox, a reflector, and a diffuser.
Benefits
- Can create a professional look
- Can be used to enhance existing light sources
- Can be used to create unique and dramatic effects
Challenges
- Can be expensive
- Requires practice and expertise to use effectively
Investing in basic lighting equipment can be a significant investment, but it’s worth noting that you don’t need to break the bank to get started.
For example, a basic softbox setup can cost as little as $50. However, investing in higher-end equipment can result in significantly better results.
Technique 3: Utilizing Reflectors and Diffusers
Reflectors and diffusers are often overlooked when it comes to product photography. However, they can be used to enhance existing light sources, create unique effects, and even manipulate the mood of an image.
Benefits
- Can be used to enhance existing light sources
- Can create unique and dramatic effects
- Can be used to manipulate the mood of an image
Challenges
- Requires practice and expertise to use effectively
- Can be expensive
Utilizing reflectors and diffusers can add a level of sophistication to your product images. For example, using a reflector can help bounce light onto a subject, creating a more even and balanced look.
Technique 4: Using LED Lights
LED lights are becoming increasingly popular in the world of product photography. They offer a number of benefits including energy efficiency, long lifespan, and high color accuracy.
Benefits
- Energy efficient
- Long lifespan
- High color accuracy
Challenges
- Can be expensive
- May not provide the same level of control as other lighting sources
Using LED lights can be a significant investment, but it’s worth noting that they offer a number of benefits. For example, they are energy efficient and have a long lifespan.
Technique 5: Creating a DIY Lighting Kit
Creating a DIY lighting kit can be a cost-effective way to create professional-looking product images. This involves sourcing materials such as cardboards, paper, and fabric to create your own reflectors, diffusers, and softboxes.
Benefits
- Cost-effective
- Environmentally friendly
- Can be used to enhance existing light sources
Challenges
- Requires creativity and resourcefulness
- May not provide the same level of control as other lighting sources
Creating a DIY lighting kit can be a fun and creative challenge. For example, you could use cardboard to create a makeshift reflector or diffuser.
Conclusion
Creating authentic product images on a budget requires careful planning, execution, and attention to detail. By understanding the basics of lighting and utilizing techniques such as using available light, investing in basic lighting equipment, utilizing reflectors and diffusers, using LED lights, and creating a DIY lighting kit, you can achieve professional-looking results without breaking the bank.
So, what’s next? The world of product photography is constantly evolving, and there’s always room for improvement. By staying up-to-date with the latest trends and techniques, you can continue to push the boundaries of what’s possible.
In the meantime, remember that lighting is not just about pointing a camera at an object and clicking the shutter button. It’s an art form that requires creativity, resourcefulness, and attention to detail.
So, go ahead and experiment with different techniques. Try new things, take risks, and push yourself outside of your comfort zone.
And most importantly, have fun with it!
Tags
product-photography lighting-tips ecommerce-images budget-photography digital-marketing
About Isabella Anderson
As a seasoned photographer and educator, I help creatives unlock their full potential on lentecreativa.com. With 3+ yrs of experience teaching photography techniques & tips, I've worked with top brands to develop innovative tools for photographers. Let's chase those shots!
