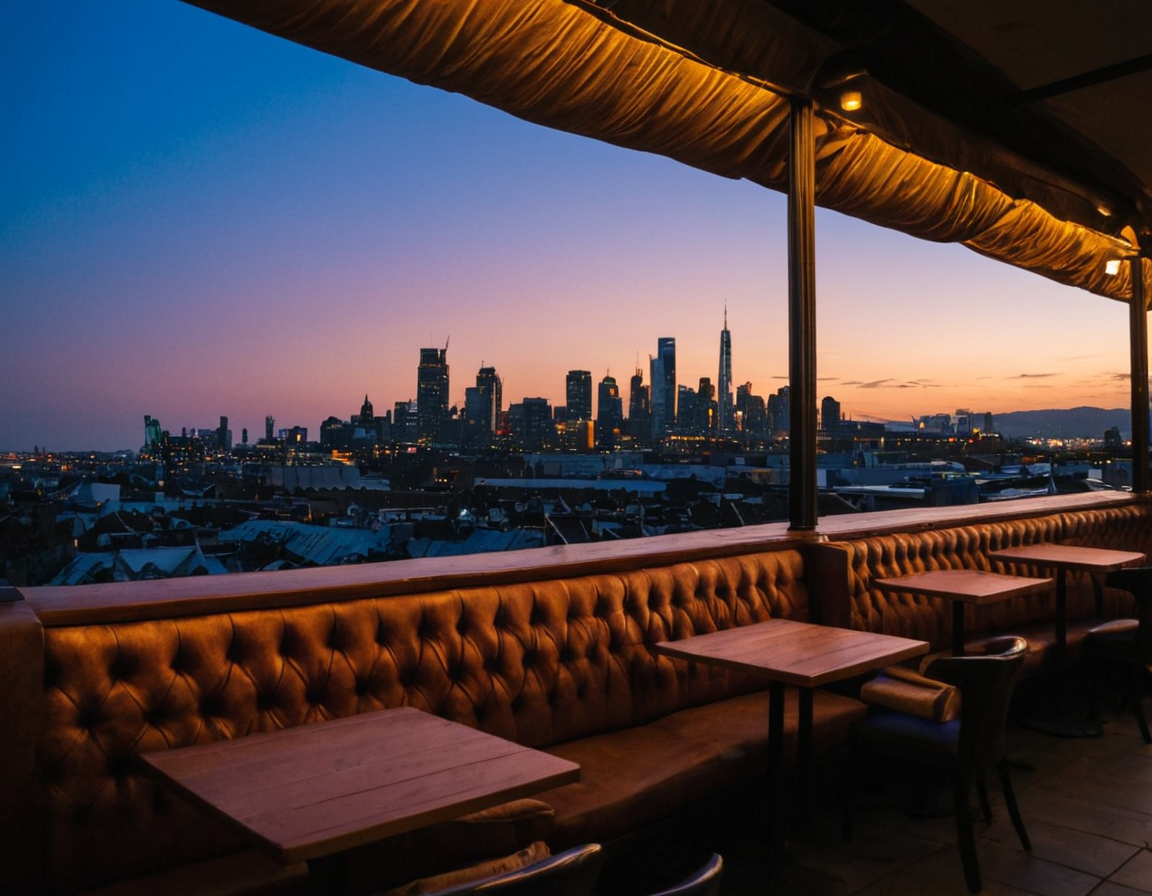
Top Low Light Photography Tips

Mastering the Art of Low Light Photography: A Comprehensive Guide
Low light photography can be a challenging and nuanced topic, but with the right techniques and knowledge, it can also lead to breathtaking results. In this article, we’ll delve into the world of low light photography, exploring the top 10 tips to help you master this complex subject.
Understanding Low Light Photography
Low light photography refers to the process of capturing images in conditions where the available light is insufficient to produce a well-exposed photograph. This can occur in a variety of situations, such as indoor photography, shooting at night, or in areas with heavy overcast skies.
While it may seem daunting, low light photography requires patience, practice, and attention to detail. In this article, we’ll focus on the practical aspects of low light photography, providing you with the knowledge and skills necessary to produce stunning results.
Tip #1: Understand Your Camera’s Capabilities
Before diving into low light photography, it’s essential to understand your camera’s capabilities. Familiarize yourself with your camera’s settings, such as ISO, shutter speed, and aperture. Knowing how these settings work will help you make informed decisions during the shoot.
For example, if you’re shooting in a dimly lit room, increase your ISO setting to compensate for the lack of light. However, be cautious not to overdo it, as high ISOs can introduce noise and degrade image quality.
Tip #2: Use the Right Lens
The lens you use can significantly impact the outcome of your low light photography. A good low-light-performing lens will help you capture more detail and reduce noise.
Consider investing in a prime lens or a wide-aperture zoom lens, as these are better suited for low light conditions. Additionally, look into lenses with image stabilization or optical noise reduction features.
Tip #3: Shoot in RAW
Shooting in RAW format gives you more flexibility during post-processing, allowing you to adjust exposure, contrast, and color balance without degrading the image quality.
Most modern cameras support RAW file capture, so make sure to enable this feature. However, be aware that shooting in RAW requires more storage space and processing power.
Tip #4: Use Reflectors and Diffusers
Reflectors and diffusers can help control harsh shadows and add depth to your images. Use reflectors to bounce light onto your subject, or use diffusers to soften the light.
For example, you can use a piece of white cardboard or a dedicated reflector to bounce light onto your subject’s face. This technique can help reduce harsh shadows and create a more flattering lighting setup.
Tip #5: Pay Attention to Composition
Composition is crucial in low light photography, as it can make or break the image. Avoid cluttered backgrounds, and focus on creating a clean and simple composition.
Use leading lines, framing, or other compositional techniques to guide the viewer’s eye through the image. Additionally, experiment with different angles and perspectives to add depth and interest.
Tip #6: Experiment with Different Shutter Speeds
Shutter speed can greatly impact the outcome of your low light photography. Experiment with different shutter speeds to achieve the desired effect.
For example, a slow shutter speed can create a sense of motion or blur, while a fast shutter speed can freeze the action. Be cautious not to overdo it, as extreme shutter speeds can introduce motion blur.
Tip #7: Use External Light Sources
External light sources can help supplement the available light and improve image quality. Consider using flash units, LED lights, or even continuous lights.
Be cautious when using external light sources, as they can introduce unwanted reflections or create unflattering lighting. Always test your setup before capturing images.
Tip #8: Bracket Your Shots
Bracketing involves taking multiple shots at different exposures and merging them later. This technique can help capture a wider dynamic range and produce more detailed images.
Use the bracketing feature on your camera or software to capture multiple shots. Then, merge the images using HDR software or editing tools.
Tip #9: Post-Processing is Key
Post-processing is where the magic happens in low light photography. Adjust exposure, contrast, and color balance to enhance the image without overdoing it.
Use software like Lightroom or Photoshop to adjust the image. Be cautious not to over-process the image, as this can introduce noise and degrade image quality.
Tip #10: Practice and Patience
Low light photography requires practice and patience. Don’t expect to produce stunning results overnight; instead, focus on learning and improving with each shoot.
Experiment with different techniques, and don’t be afraid to fail. Analyze your mistakes, and use them as an opportunity to learn and grow.
Conclusion
Mastering low light photography takes time, effort, and practice. By following these top 10 tips, you’ll be well on your way to producing stunning results in even the most challenging conditions.
Remember, low light photography is not just about technical knowledge; it’s also about creativity, experimentation, and pushing boundaries. So, keep practicing, learning, and growing – and most importantly, have fun!
About Camila Rodriguez
Hi, I'm Camila Rodriguez, a seasoned photographer and blog editor passionate about inspiring creative minds. With a background in photography and a knack for crafting engaging tutorials, I help bring the best photography techniques and tools to life on lentecreativa.com.
